 Windows11上WSL之Ubuntu20.04搭建Android系统源码编译环境
Windows11 wsl2安装Ubuntu-20.04
将WSL2设置为默认版本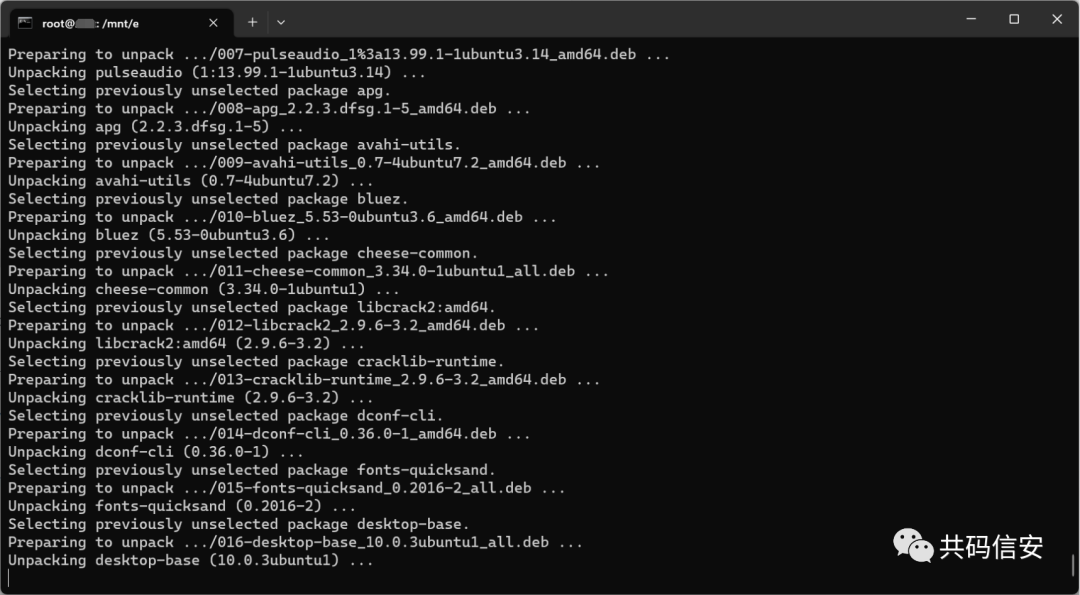 安装Xfce等依赖(安装图形界面和远程链接)
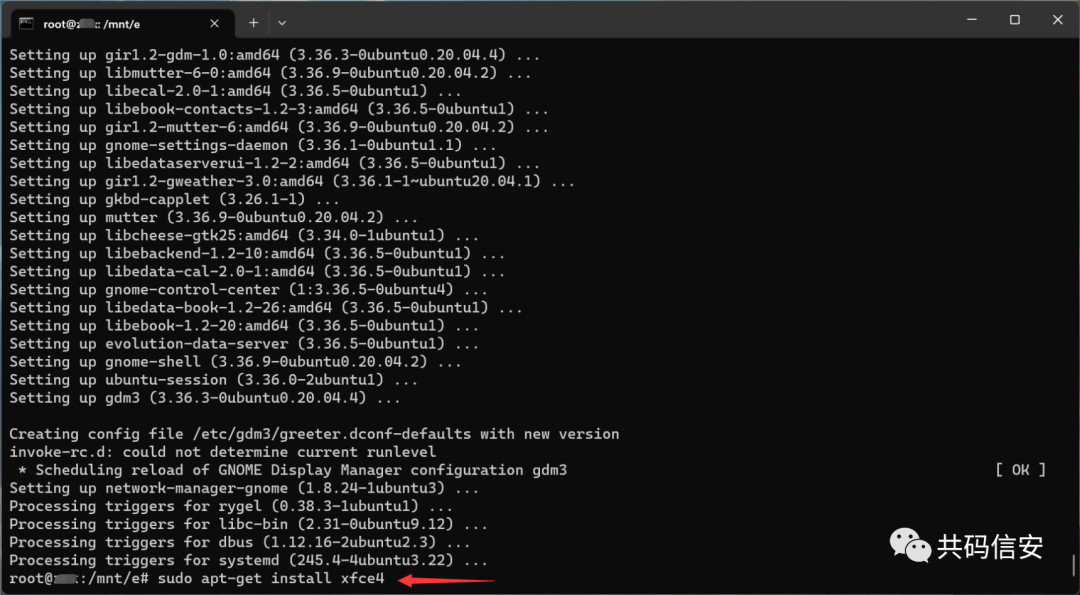
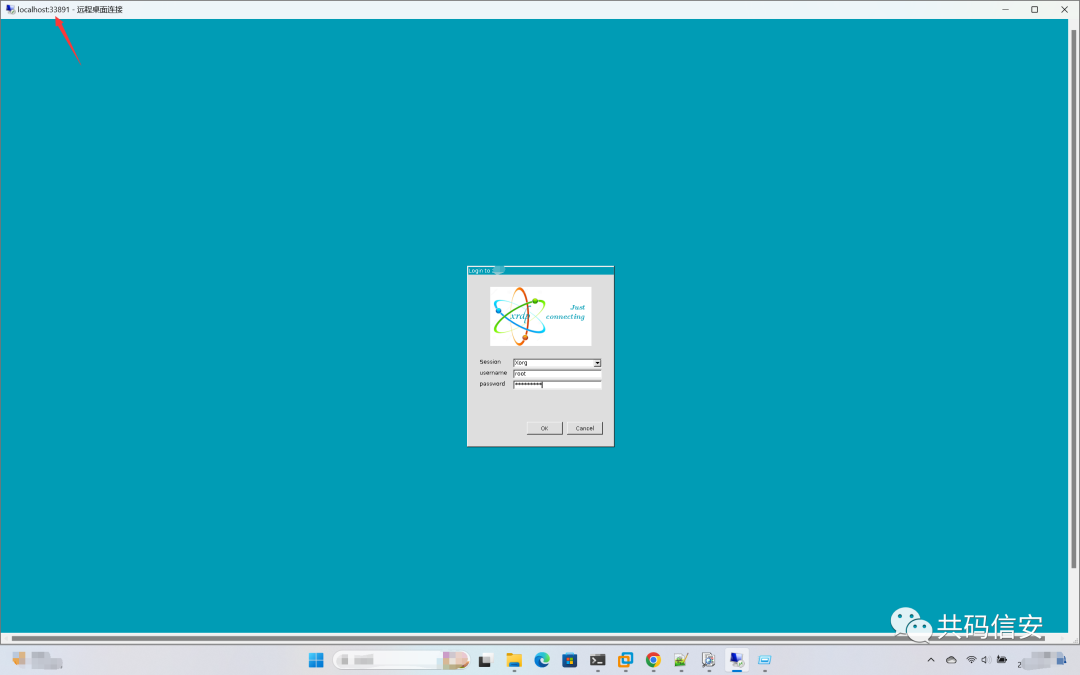
 当前用户指定登录session类型
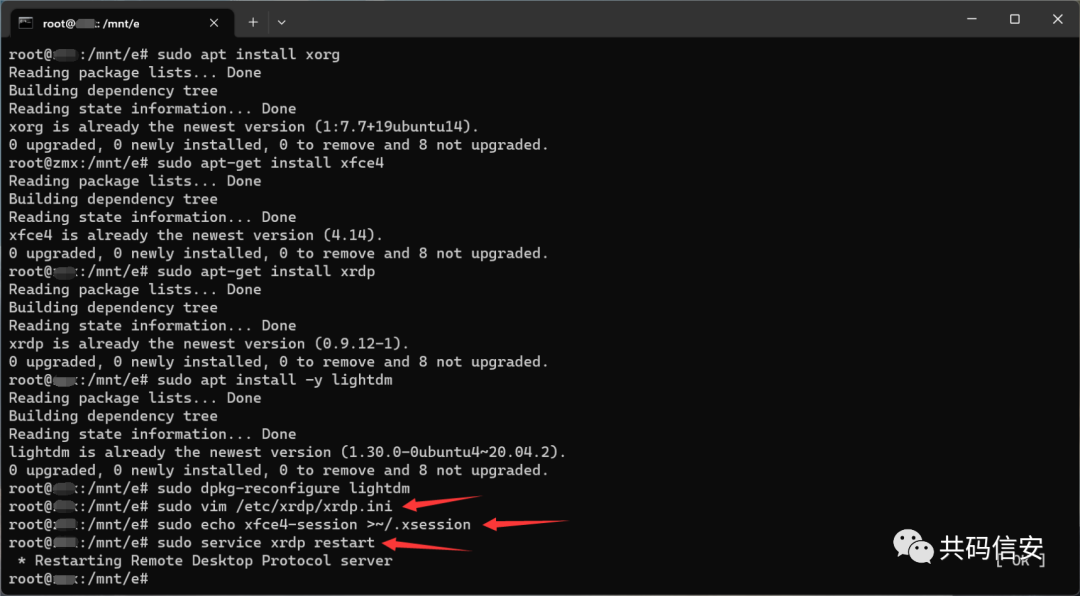 配置网络,获取主机的IP
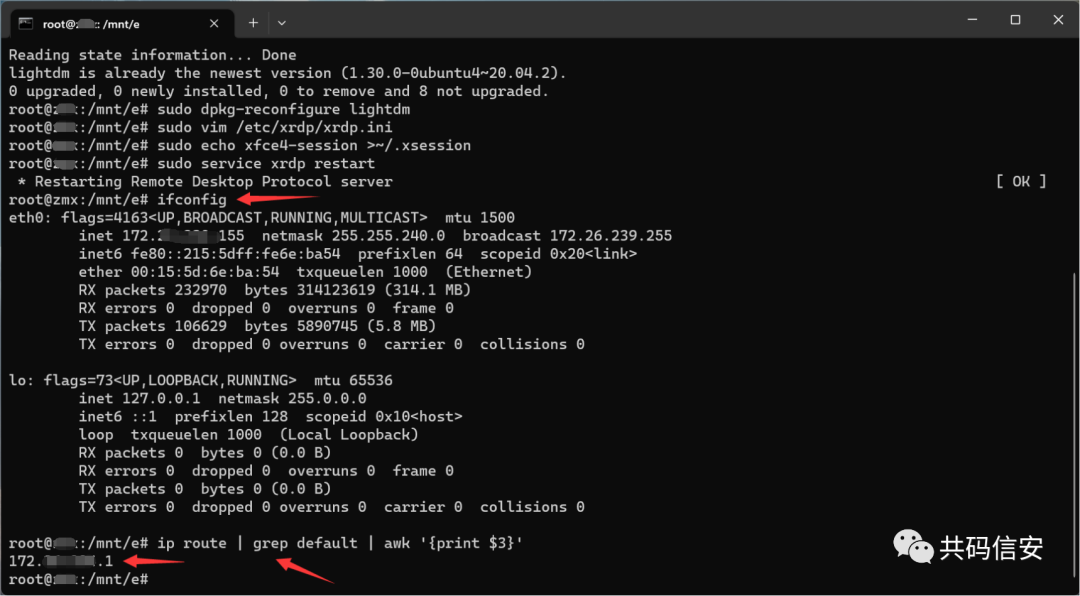
 开启防火墙端口
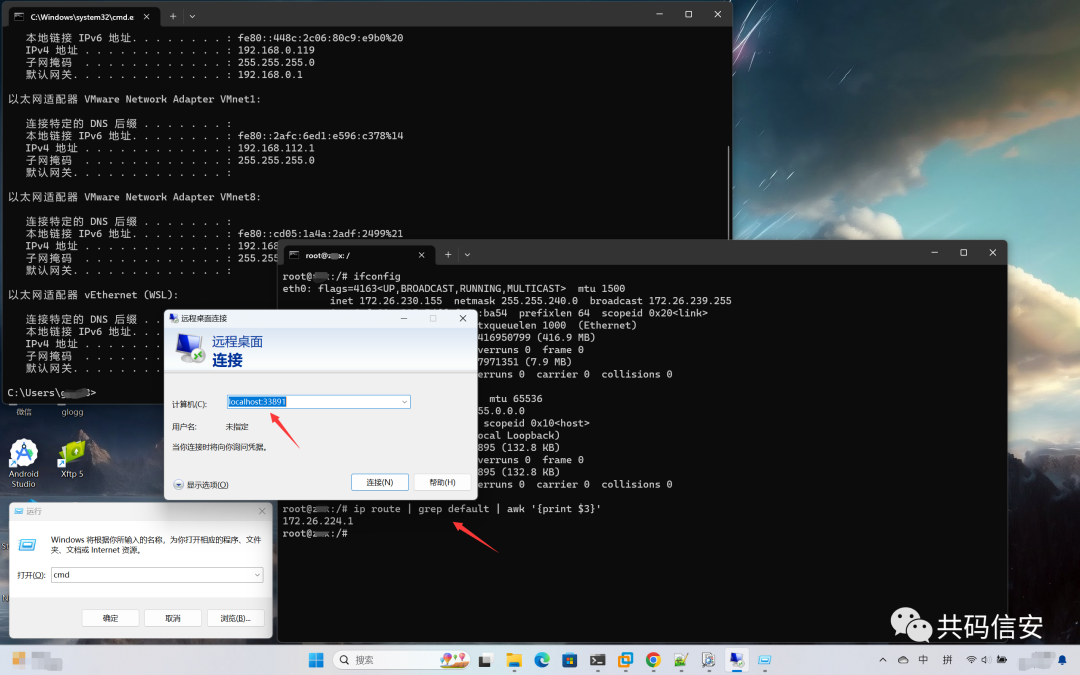
 注意:每次使用的时候都需要重新输入
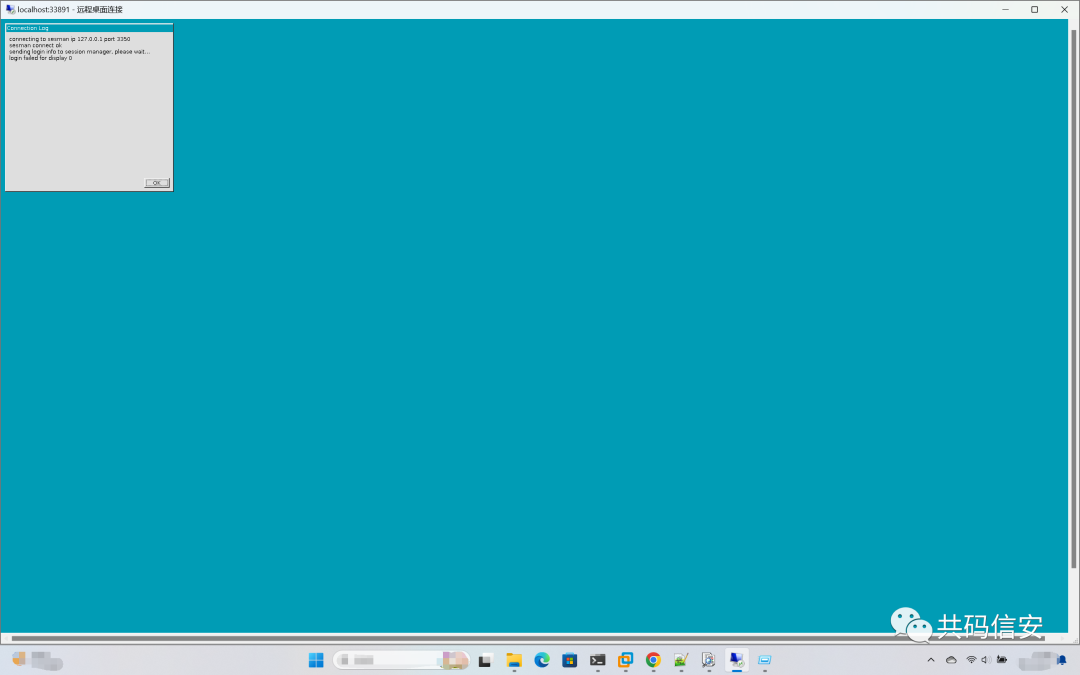
 启用systemd


wsl--set-default-version2
修改Ubuntu20.04下载源
vim /etc/apt/sources.list
在末尾加入
deb http://mirrors.aliyun.com/ubuntu/ focal main restricted universe multiverse
deb-src http://mirrors.aliyun.com/ubuntu/ focal main restricted universe multiverse
deb http://mirrors.aliyun.com/ubuntu/ focal-security main restricted universe multiverse
deb-src http://mirrors.aliyun.com/ubuntu/ focal-security main restricted universe multiverse
deb http://mirrors.aliyun.com/ubuntu/ focal-updates main restricted universe multiverse
deb-src http://mirrors.aliyun.com/ubuntu/ focal-updates main restricted universe multiverse
deb http://mirrors.aliyun.com/ubuntu/ focal-proposed main restricted universe multiverse
deb-src http://mirrors.aliyun.com/ubuntu/ focal-proposed main restricted universe multiverse
deb http://mirrors.aliyun.com/ubuntu/ focal-backports main restricted universe multiverse
deb-srchttp://mirrors.aliyun.com/ubuntu/focal-backportsmainrestricteduniversemultiverse
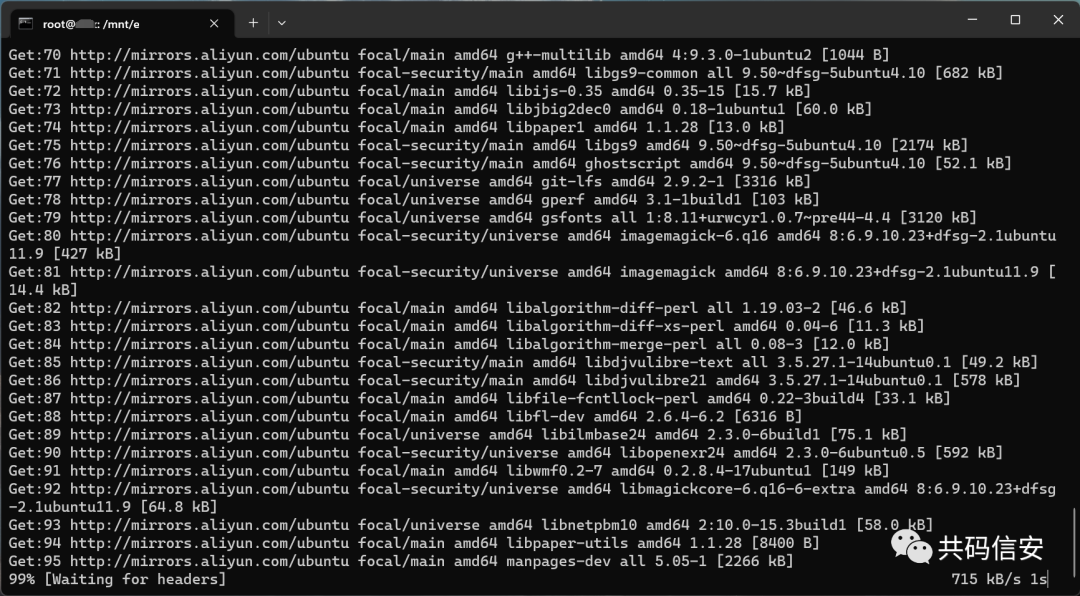
sudo apt-get update
sudo apt-get upgrade -y
安装Xfce等依赖(安装图形界面和远程链接)
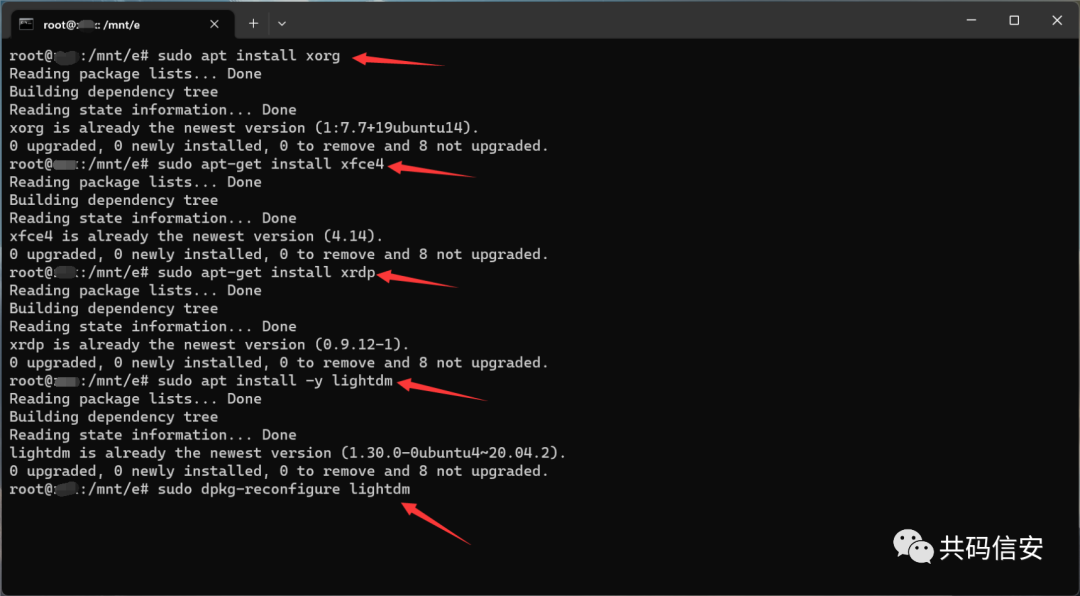
sudo apt install xorg
sudo apt-get install xfce4
sudo apt-get install xrdp
sudo apt-get install net-tools
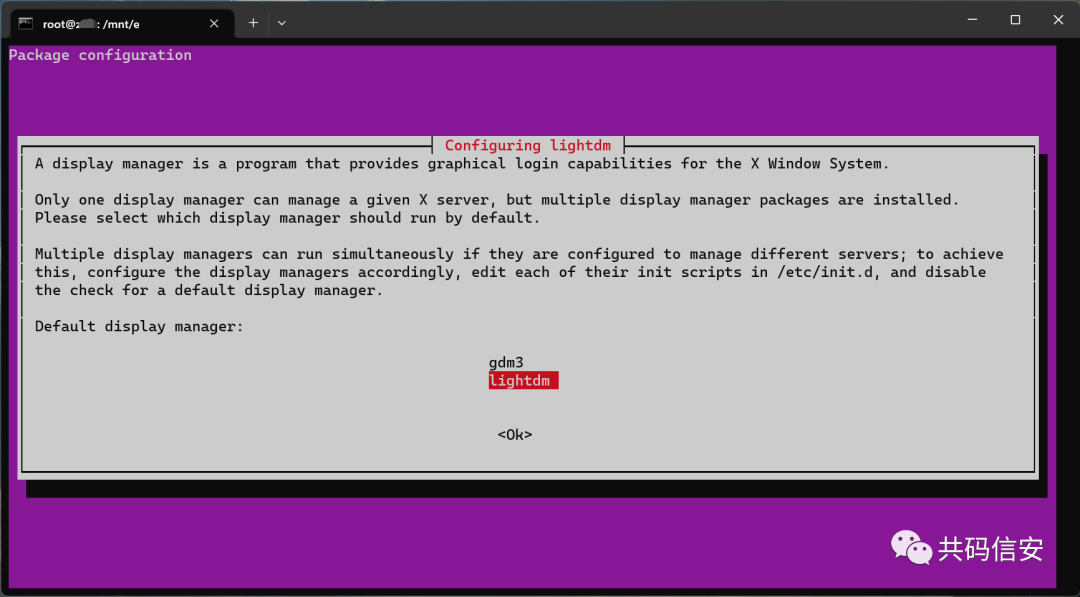
sudo apt install -y lightdm
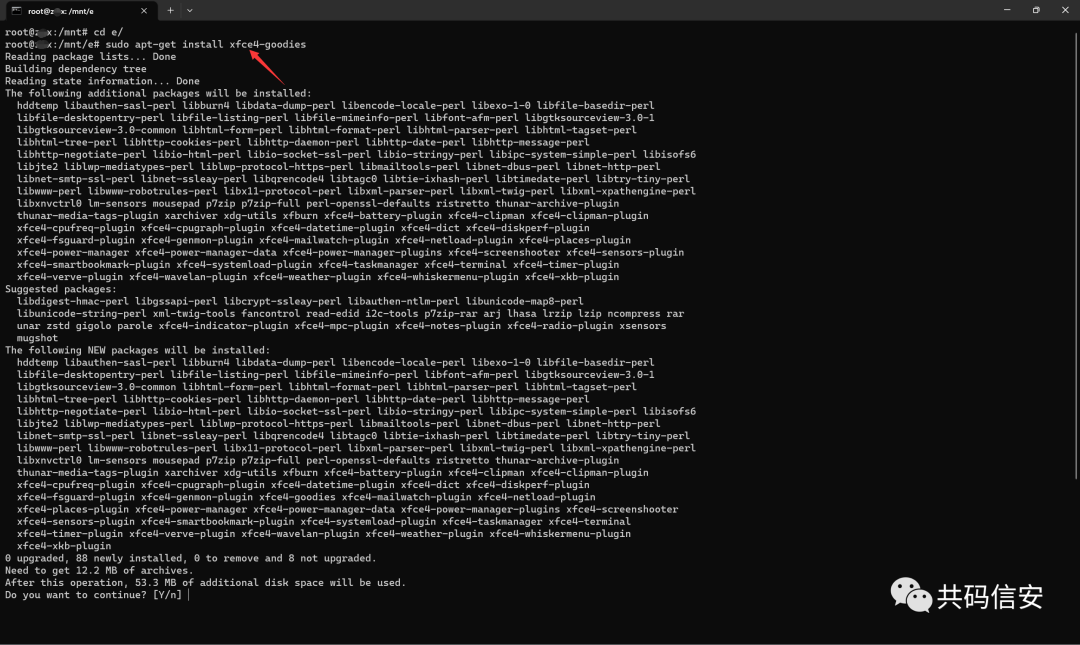
sudo apt install xfce4-goodies
sudo dpkg-reconfigure lightdm
当前用户指定登录session类型
echo"xfce4-session">~/.xsession
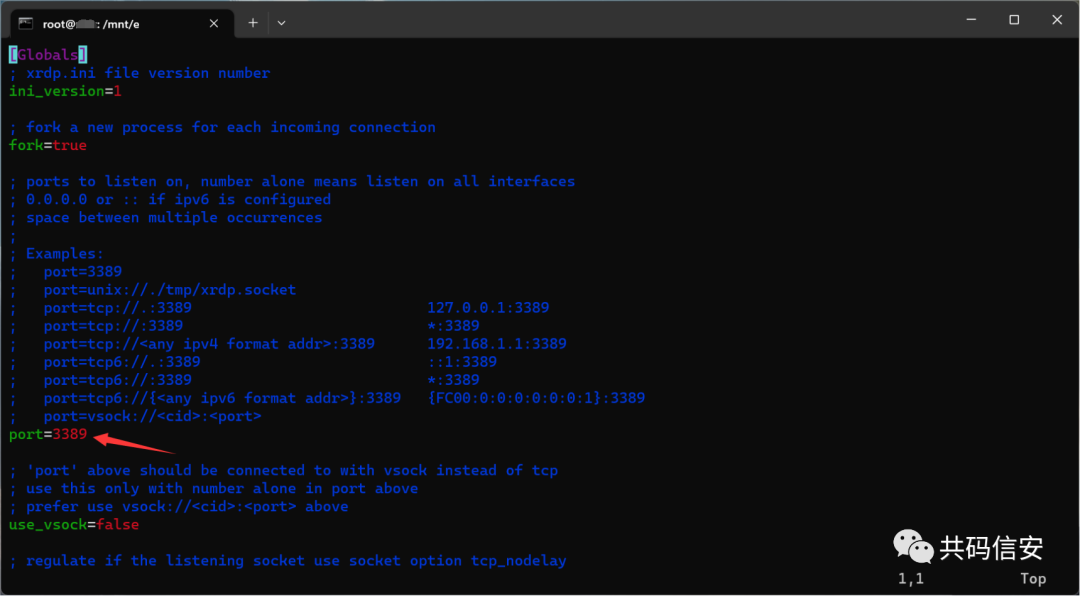
修改xrdp运行端口,防止与Windows11自带的xrdp服务端口冲突
sudo vim /etc/xrdp/xrdp.ini
修改xrdp的配置文件,把port从3389修改为任意未被占用的端口,避免和本机冲突
sudo echo xfce4-session >~/.xsession
sudo service xrdp restart
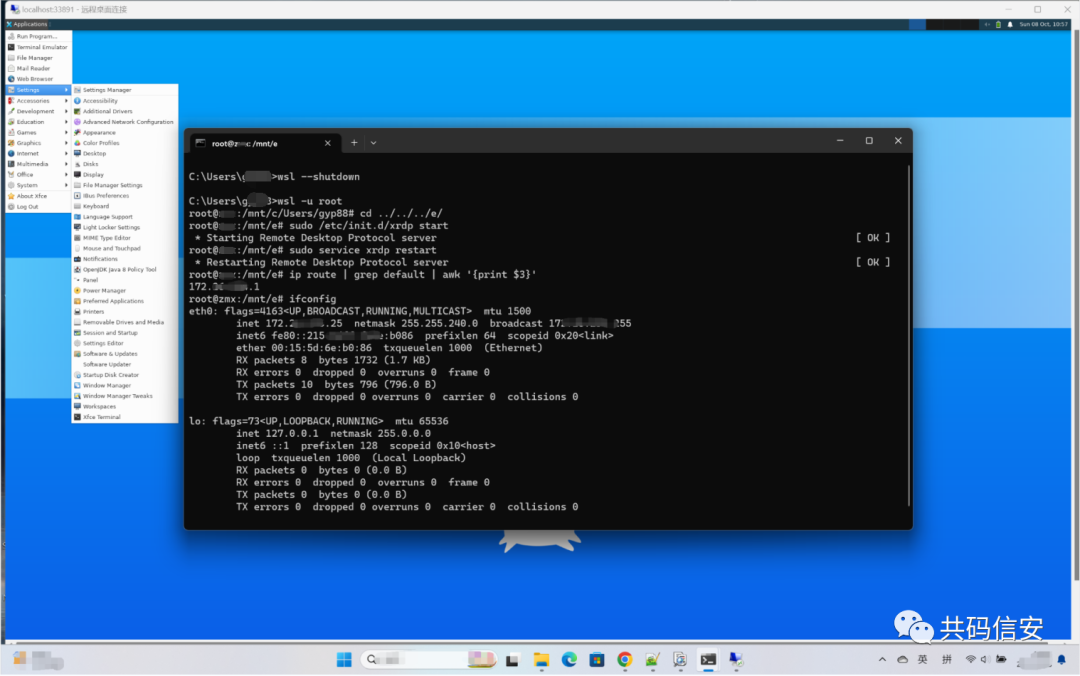
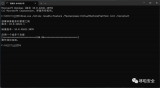
配置网络,获取主机的IP
sudo apt install net-tools
ip route | grep default | awk '{print $3}'
install bcbisonbuild-essentialccachecurlflexg++-multilibgcc-multilibgitgit-lfsgnupggperfimagemagick
lib32readline-dev lib32z1-dev libelf-dev liblz4-tool libncurses5 libncurses5-dev
libssl-dev libxml2 libxml2-utils lzop pngcrush rsync
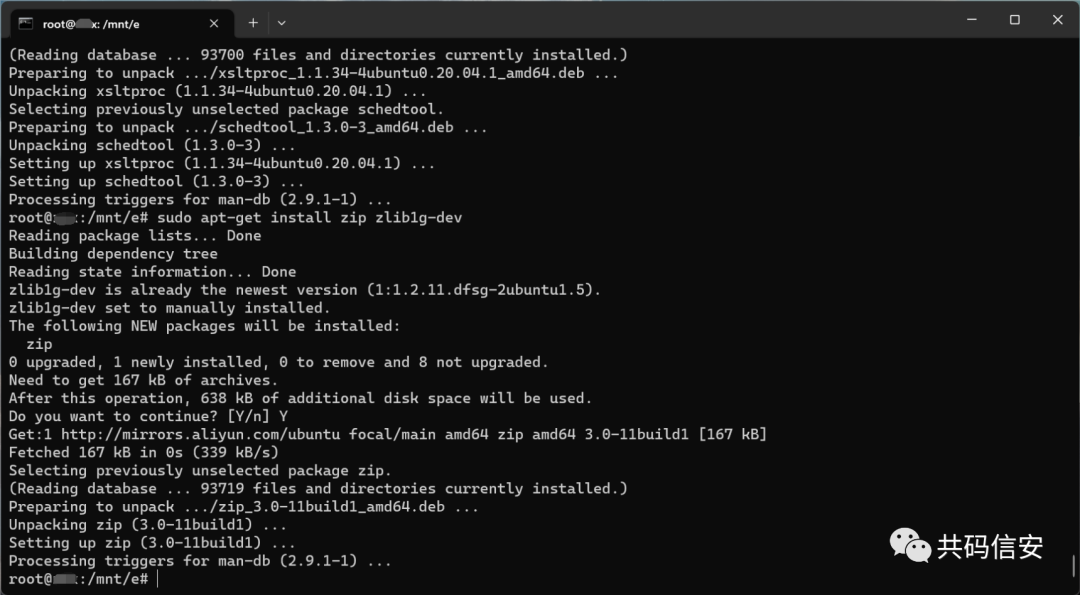
schedtool squashfs-tools xsltproc
zip zlib1g-dev
开启防火墙端口
sudo ufw allow 33891
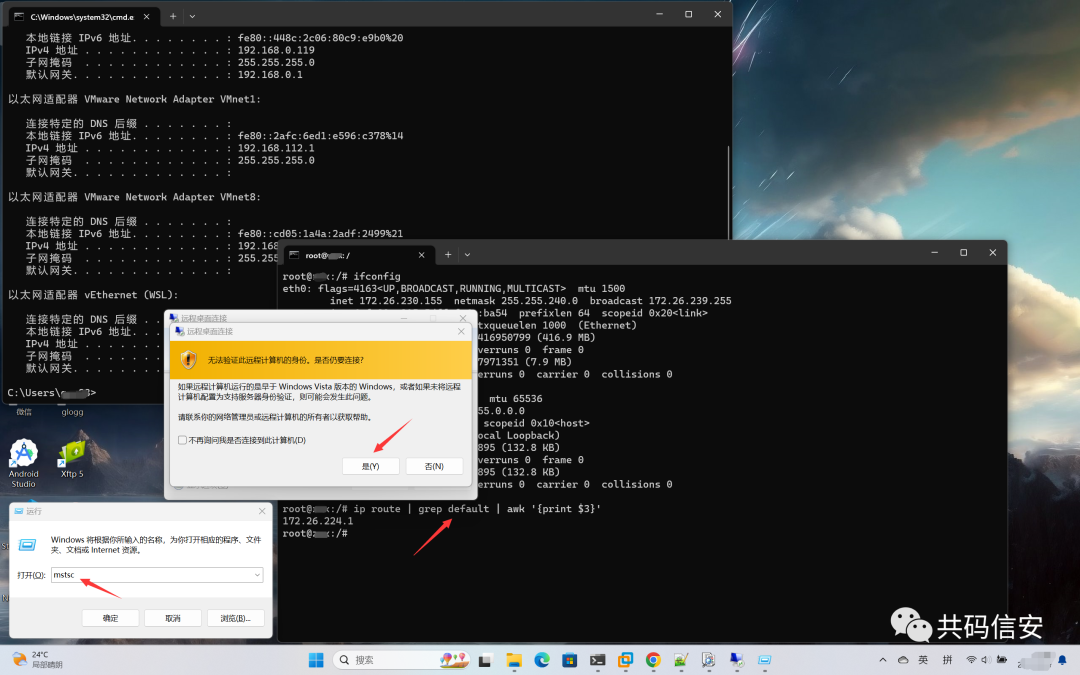
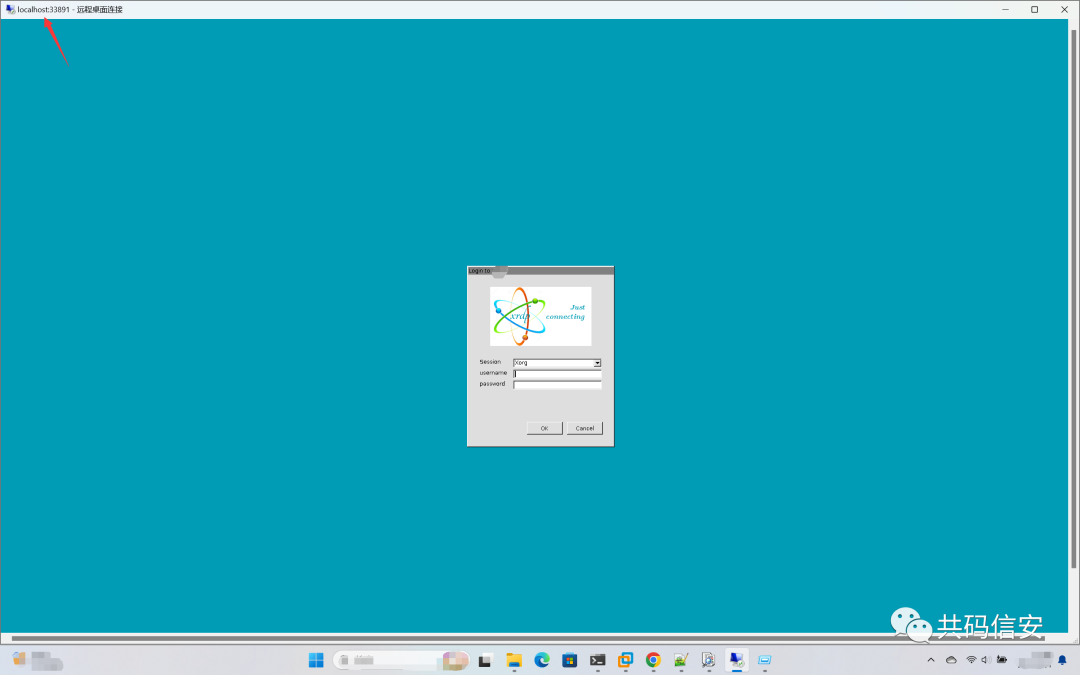
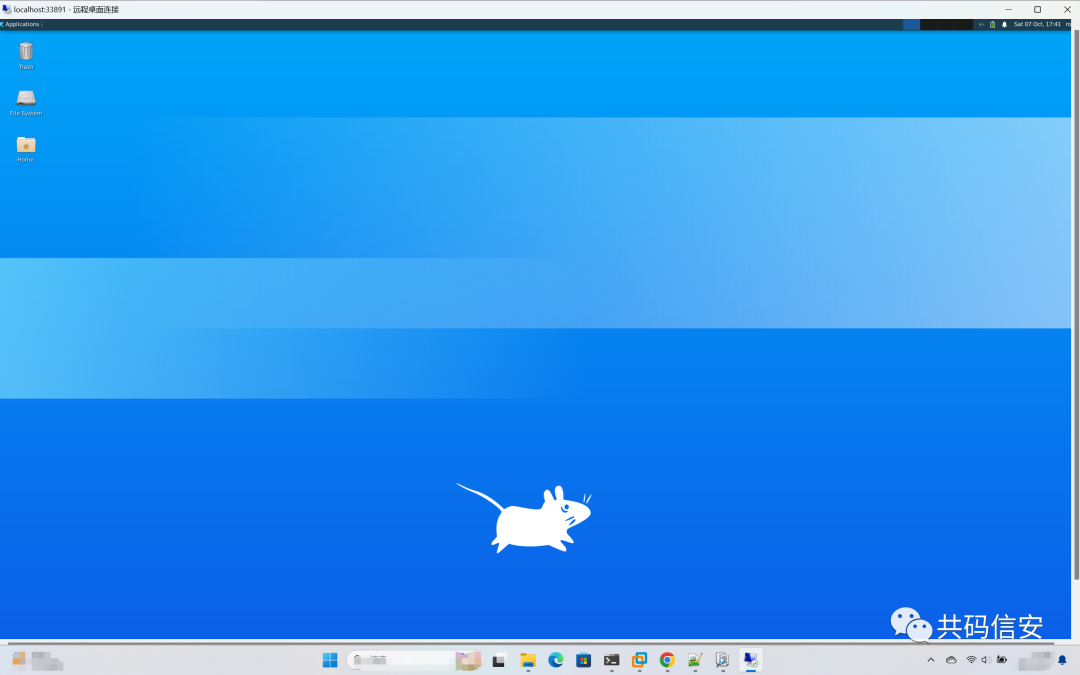
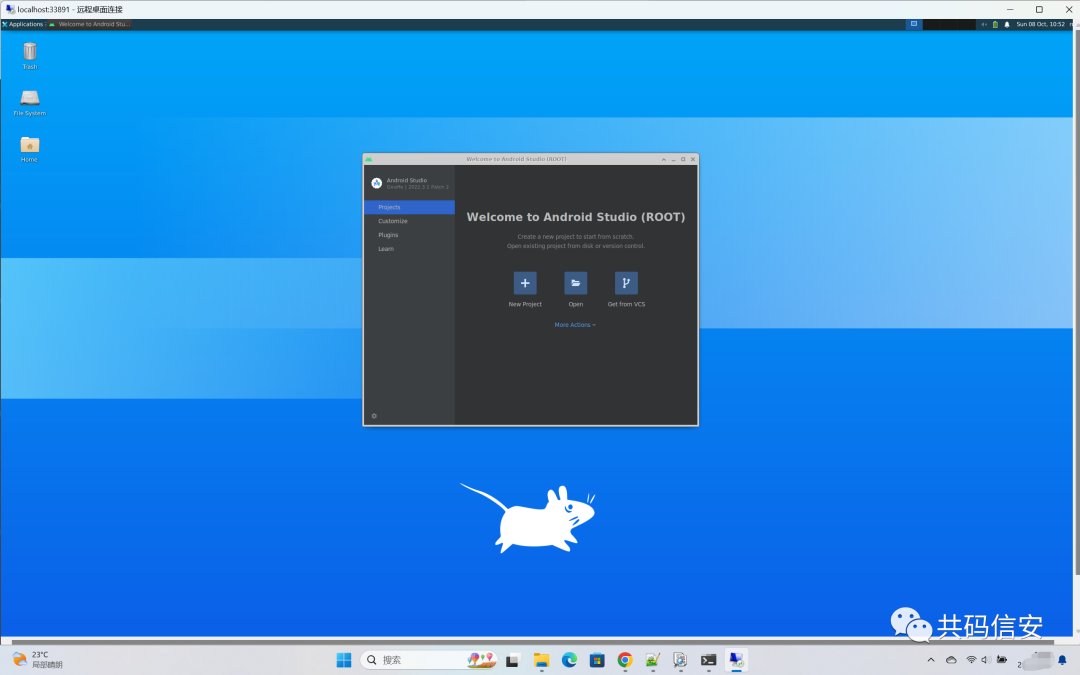
打开远程桌面链接
mstsc
使用Windows自带的远程控制进行连接
localhost:33891
注意:每次使用的时候都需要重新输入
wsl --shutdown
wsl -u root
sudo /etc/init.d/xrdp start
或
sudo service xrdp restart
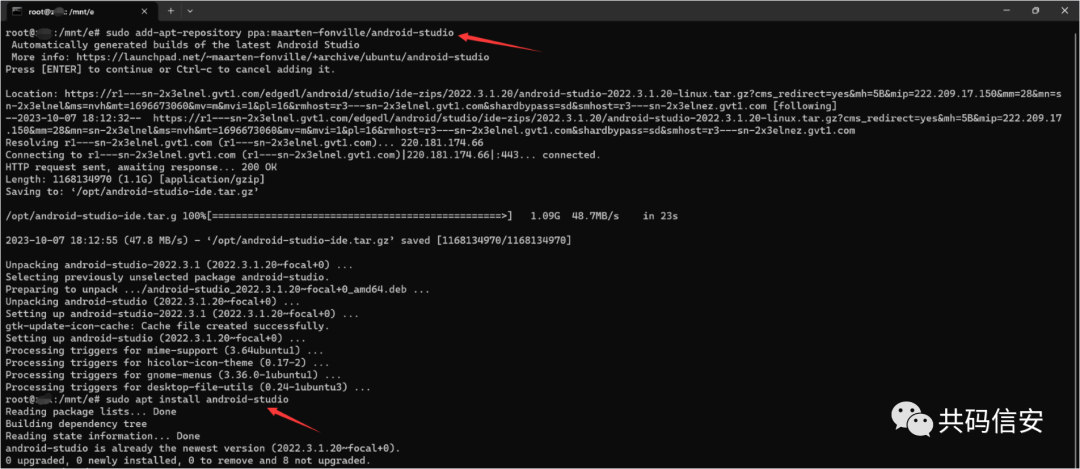
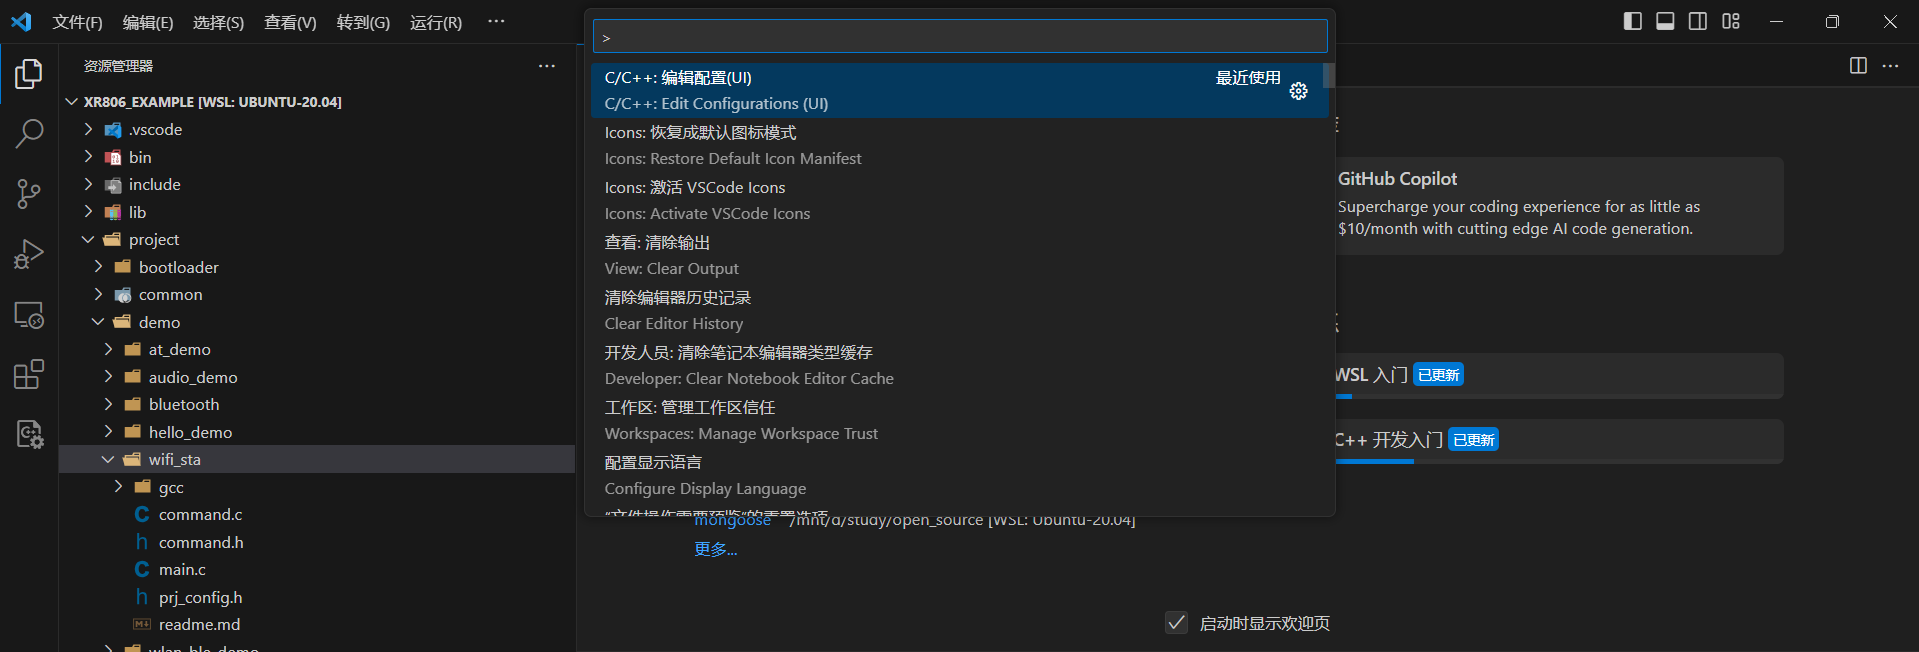
sudo add-apt-repository ppa:maarten-fonville/android-studio
sudo apt install android-studio
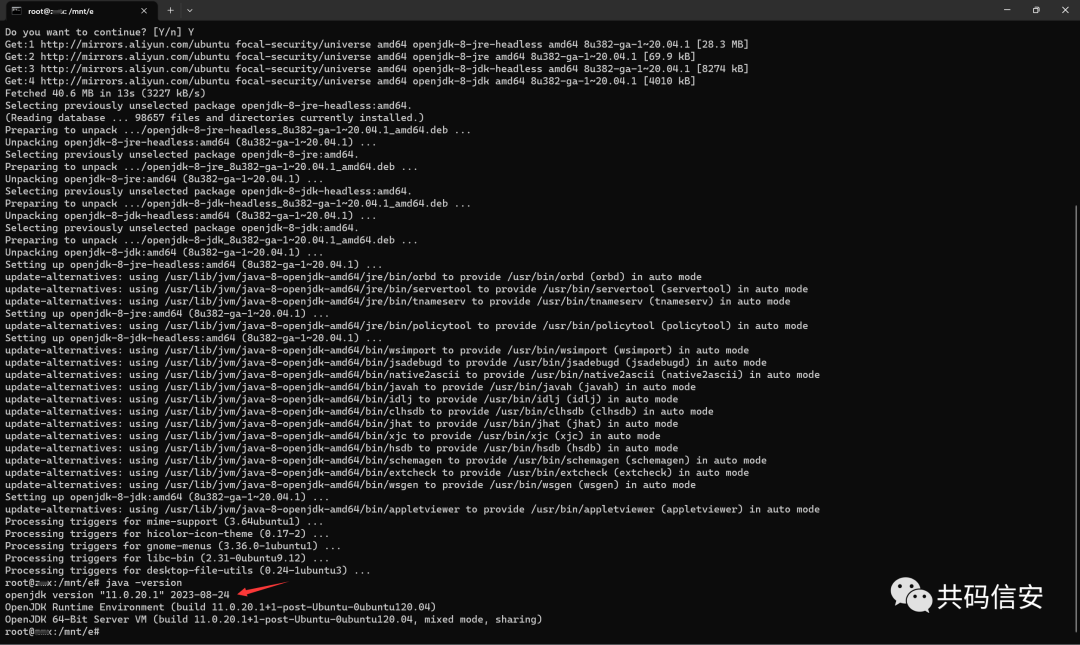
sudo apt install openjdk-8-jdk
sudo apt install openjdk-11-jdk
启用systemd
sudo apt install -y ubuntu-desktop xrdp gnome-software gnome-tweaks gnome-shell-extensions


git clone https://github.com/DamionGans/ubuntu-wsl2-systemd-script.git
cd ubuntu-wsl2-systemd-script/
bash ubuntu-wsl2-systemd-script.sh
exec bash
启动XRDP服务
//关闭WSL
wsl --shutdown


wsl -u root


//由于WSL2里面不能用systemd,所以需要手动启动
sudo /etc/init.d/xrdp start
安装中文输入法(需要在WSL Ubuntu20.04 GUI图形界面中操作)
(1).卸载IBus输入法框架
Ubuntu内置了IBus输入法框架,与fcitx冲突,需要事先卸载
sudoaptremoveibus*
(2).安装所需要的软件包
sudoaptinstalldbus-x11fcitxim-configfcitx-sunpinyinfcitx-table-wubi
(3).安装后需要重启一次
wsl --shutdown
wsl -u root
sudo /etc/init.d/xrdp start
(4).配置输入法框架
fcitx-config-gtk3
安装搜狗输入法
https://shurufa.sogou.com/
声明:本文内容及配图由入驻作者撰写或者入驻合作网站授权转载。文章观点仅代表作者本人,不代表电子发烧友网立场。文章及其配图仅供工程师学习之用,如有内容侵权或者其他违规问题,请联系本站处理。
举报投诉
-
源码
+关注
关注
8文章
639浏览量
29185 -
Ubuntu
+关注
关注
5文章
563浏览量
29708 -
Windows11
+关注
关注
0文章
57浏览量
4310
原文标题:Windows11上WSL之Ubuntu20.04搭建Android系统源码编译环境
文章出处:【微信号:哆啦安全,微信公众号:哆啦安全】欢迎添加关注!文章转载请注明出处。
发布评论请先 登录
相关推荐
【昉·星光 2 高性能RISC-V单板计算机体验】+搭建编译环境编译
搭建编译环境建议选择其推荐的,我尝试了ubuntu16.04,发现编译不过去,然后我又换了Ubuntu2
Wi-Fi loT Windows10(2004)+WSL2 +Ubuntu 20.04 环境搭建
Microsoft Store 搜索Ubuntu下载完毕后安装Ubuntu系统可能会提示失败,按照提醒下载对应的wsl2环境安装即可:说明页
发表于 11-04 14:03
使用WSL搭建鸿蒙 IOT最方便的编译环境
的开发环境建议,其中Linux机器主要用于编译,windows机器主要用于开发和调试。 但是这有个问题,你在windows上编辑,在linu
发表于 11-16 14:54
【米尔MYS-8MMX开发板免费试用】+2.windows10+wsl2方式搭建ubuntu20.04开发环境
的Linux一般掌控系统。比如说安装一些软件会失败、某些软件容易出现错误等。二、windows10上使用wsl2方式安装ubuntu20.0
发表于 07-25 10:03
Ubuntu20.04LTS2.ESP-IDF3.micropython操作步骤
(Windows 10)注意:如果安装Ubuntu20.04LTS,需使用wsl,不要安装wsl22.编译
发表于 02-16 06:35
【HD-G2UL-EVM开发板体验】基于WIN11+WSL2+UBUNTU搭建C开发环境-Helloworld+蜂鸣器测试程序
WIN11下安装WSL2,并安装UBUNTU系统的过程网上有很多资料就不再赘述。我们基于该环境搭建
发表于 12-18 00:31
为什么无法在ubuntu20.04上使用flex builder构建tsntool?
当我在 ubuntu20.04 上使用 flex builder 编译 tsntool 时,发现无法访问“的错误我读了另一篇文章那个来源。 codeaurora.org 停止服务了,那么现在
发表于 04-20 09:07
【开鸿智谷NiobeU4开发板免费试用体验】开鸿智谷NiobeU4环境搭建及编译下载测试
的openharmony开发环境,弄了一周多编译还是有问题,总是从头再来一遍,总能够编译通过。这一篇就记录一下搭建标准系统过程及
如何制作ubuntu20.04的文件系统
firefly自带的文件系统,由于缺少一些基本功能模块,因此,我们可以自己手动制作一个ubuntu20.04的文件系统。
【ROC-RK3568-PC开发板试用体验】烧录Ubuntu20.04系统
基于Linux,所以这里将出厂默认的Android系统换为Ubuntu系统。 参考 https://wiki.t-firefly.com/zh_CN/ROC-RK3568-PC
【北京迅为】iTOP-LS2K0500开发板快速使用编译环境ubuntu20.04第一章加载迅为提供 Ubuntu20.04
【北京迅为】iTOP-LS2K0500开发板快速使用编译环境ubuntu20.04第一章加载迅为提供 Ubuntu20.04


 工商网监
工商网监
评论